Elizabeth Zimmermann Adult Surprise Jacket II
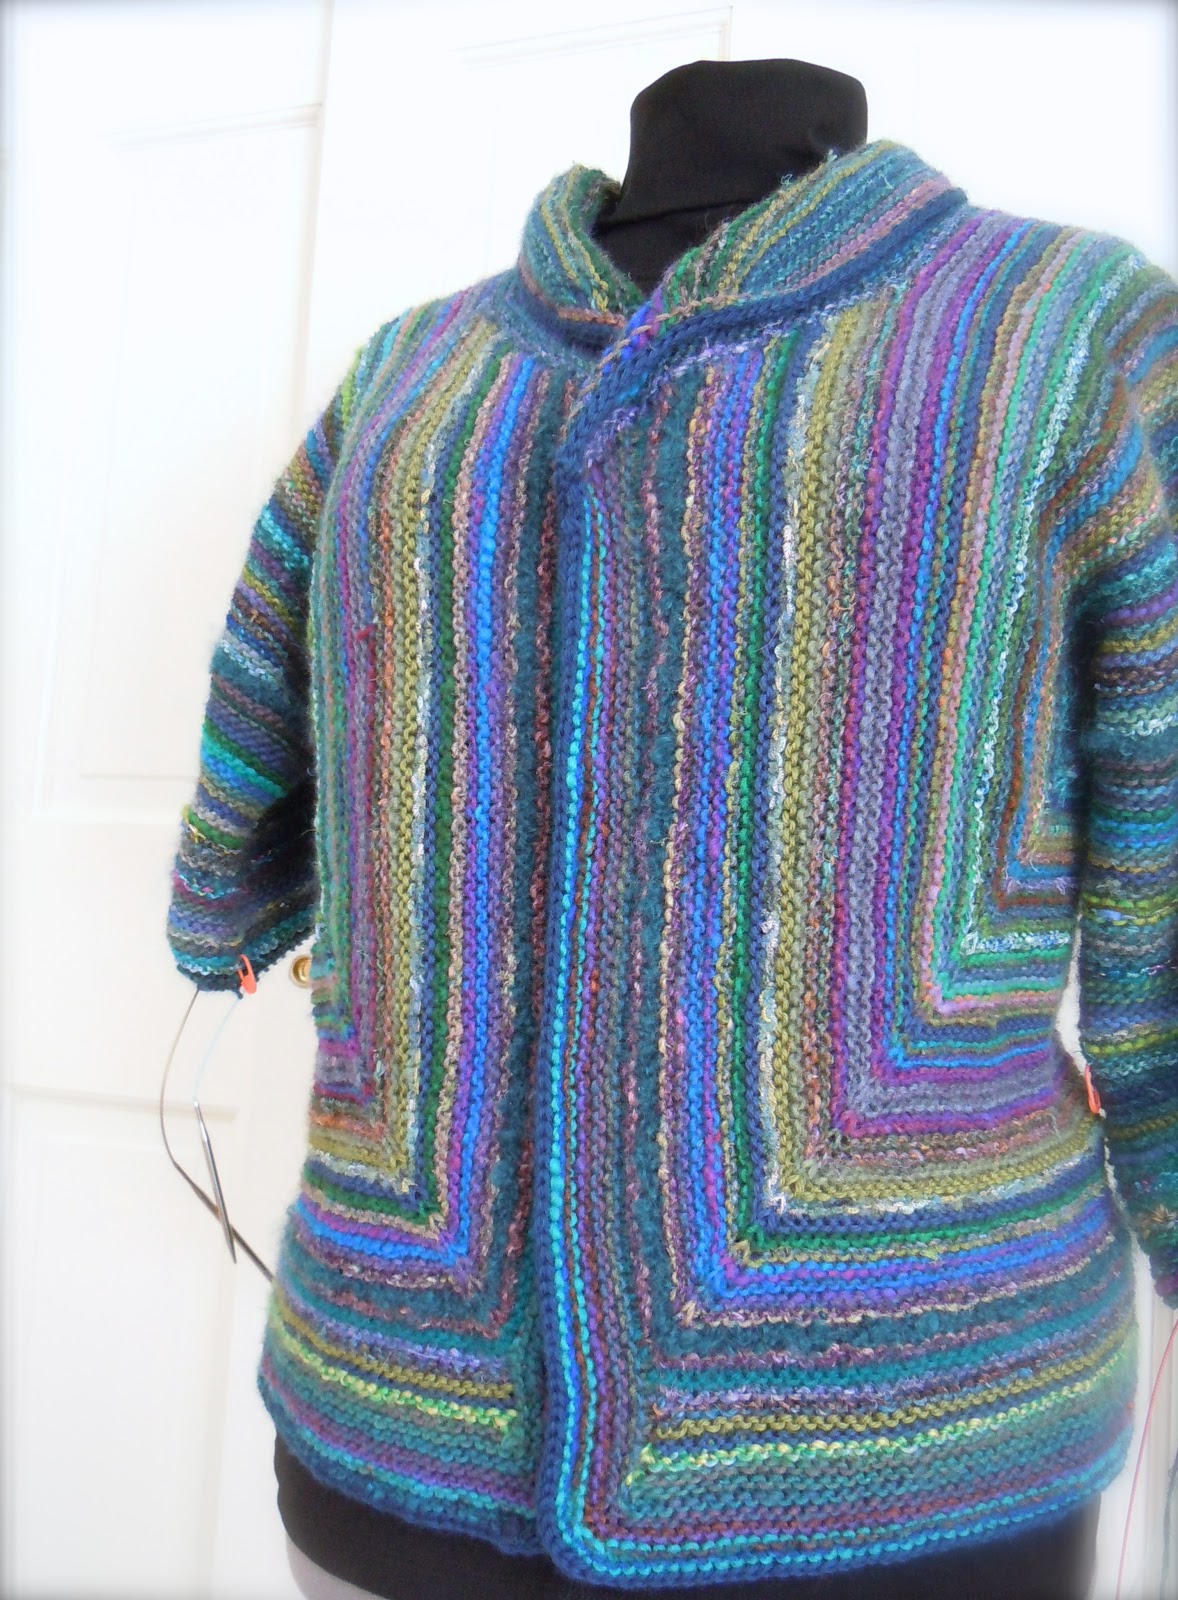
It's fun to see this jacket emerging, especially since I am able to create my own fabric with all the scrap yarns I'm using. Helping my students with their jackets, I thought it might be helpful to write down all the modifications.

Instead of a double decrease, I "sandwiched" the stitch at point A and B between a marker on each side. On my decreasing rows I worked in the following way:

Here are some of the modifications I made so far:
Instead of a double decrease, I "sandwiched" the stitch at point A and B between a marker on each side. On my decreasing rows I worked in the following way:
Knit to 2 sts before the first marker, SSK, slip marker, knit 1 st, slip marker, K2tog. On wrong side rows I purled the "sandwiched" stitch to create a decorative line.
Waist shaping:
Waist shaping:
The original pattern is more a boxy jacket. In addition to that the striping will be horizontal in the back, which can be tricky for fuller body types. I decided to do some waist shaping to make this jacket more figure flattering:
- Mark the stitch after the sandwiched stitches with additional waste yarn or marker when you are done with your decreasing and ready to start increasing again. Leave the other markers in, since you will still use them to show you where to increase!) Use a contrasting color that you won't mix them up with the markers indicating where to increase. At this point the new markers show exactly your underarm and the seam line between front and back. The stitches between A & B (and the new markers) show the width of your back now. Count them and write the number down.. (mine had 94 sts)
- Measure yourself: Measure the distance between your underarm and your waist. Please don't forget that the sleeves have some ease and that the underarm doesn't start right in your arm pit! Write this number down. (mine was 7 inches)
- Think about how many inches you want the waist shaping to be. (I chose 2.5 inches) Multiply the number of inches with your gauge which will give you the numbers of stitches you will have to decrease. ( 2.5 x 4.75 = 11.87 rounded 12) Divide this number by 2, since you will work decreases at both sides marked by your new markers. (12 : 2 = 6) Multiply row gauge with the distance between underarm and waist. (7 inches x 8 rows = 56) Divide this number by the number of stitches you have to decrease on one side. (56 : 6 = 9.3 rounded 9) This will show you that you have to decrease one stitch at your new marker every so often. (my jacket: I would decrease every 9th row)
- This means while you are following the pattern instructions with increasing at the sandwiched stitch, work your decreases at the new markers according to your calculations. (Moving the new markers up as you continue to work they will "travel" a farther away from your "sandwich" markers.) After having decreased all your waist shaping stitches revert the process and increase the same amount of stitches. If you plan to do a shorter jacket you might have to space out your increases at the waist line differently.
To be able to do this longer short row collar I aimed to get a longer v-neck line.

- After you put the 3 inch worth of stitches on hold as the pattern tells you to do, I decreased one stitch at the beginning of each row until the pattern tell you to put the stitches of E - A and F - B on hold.
Stay tuned for more posts about this project!!

Comments